Home Design & Style
Why custom window coverings actually matter
Your windows deserve more than an off-the-shelf guess. Here's why going custom — and going professional — makes all the difference in your space.
Read Article →Lumé Custom Shade and Drapery
Window fashion, design trends, product knowledge, energy efficiency and more — straight from our experts.
 Latest Post
Home Design & Style
Your windows deserve more than an off-the-shelf guess. Here's why going custom — and going professional — makes all the difference in your space.
Read Article →More Articles

Motorization & Smart Home
The complete guide to motorized shades — and why our clients never go back
From rechargeable to hardwired, Somfy to Hunter Douglas — everything you need to know about automating your window coverings.
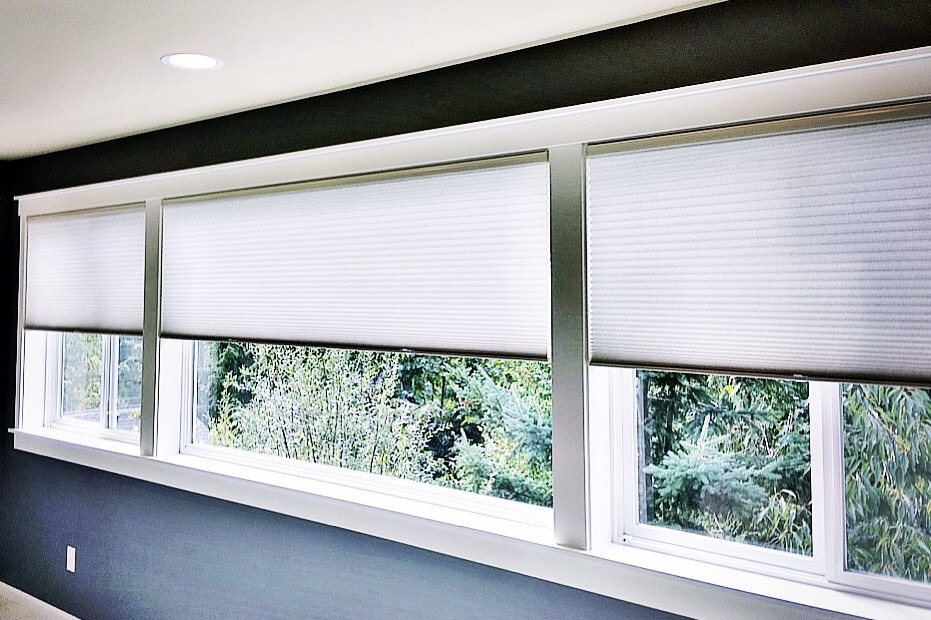
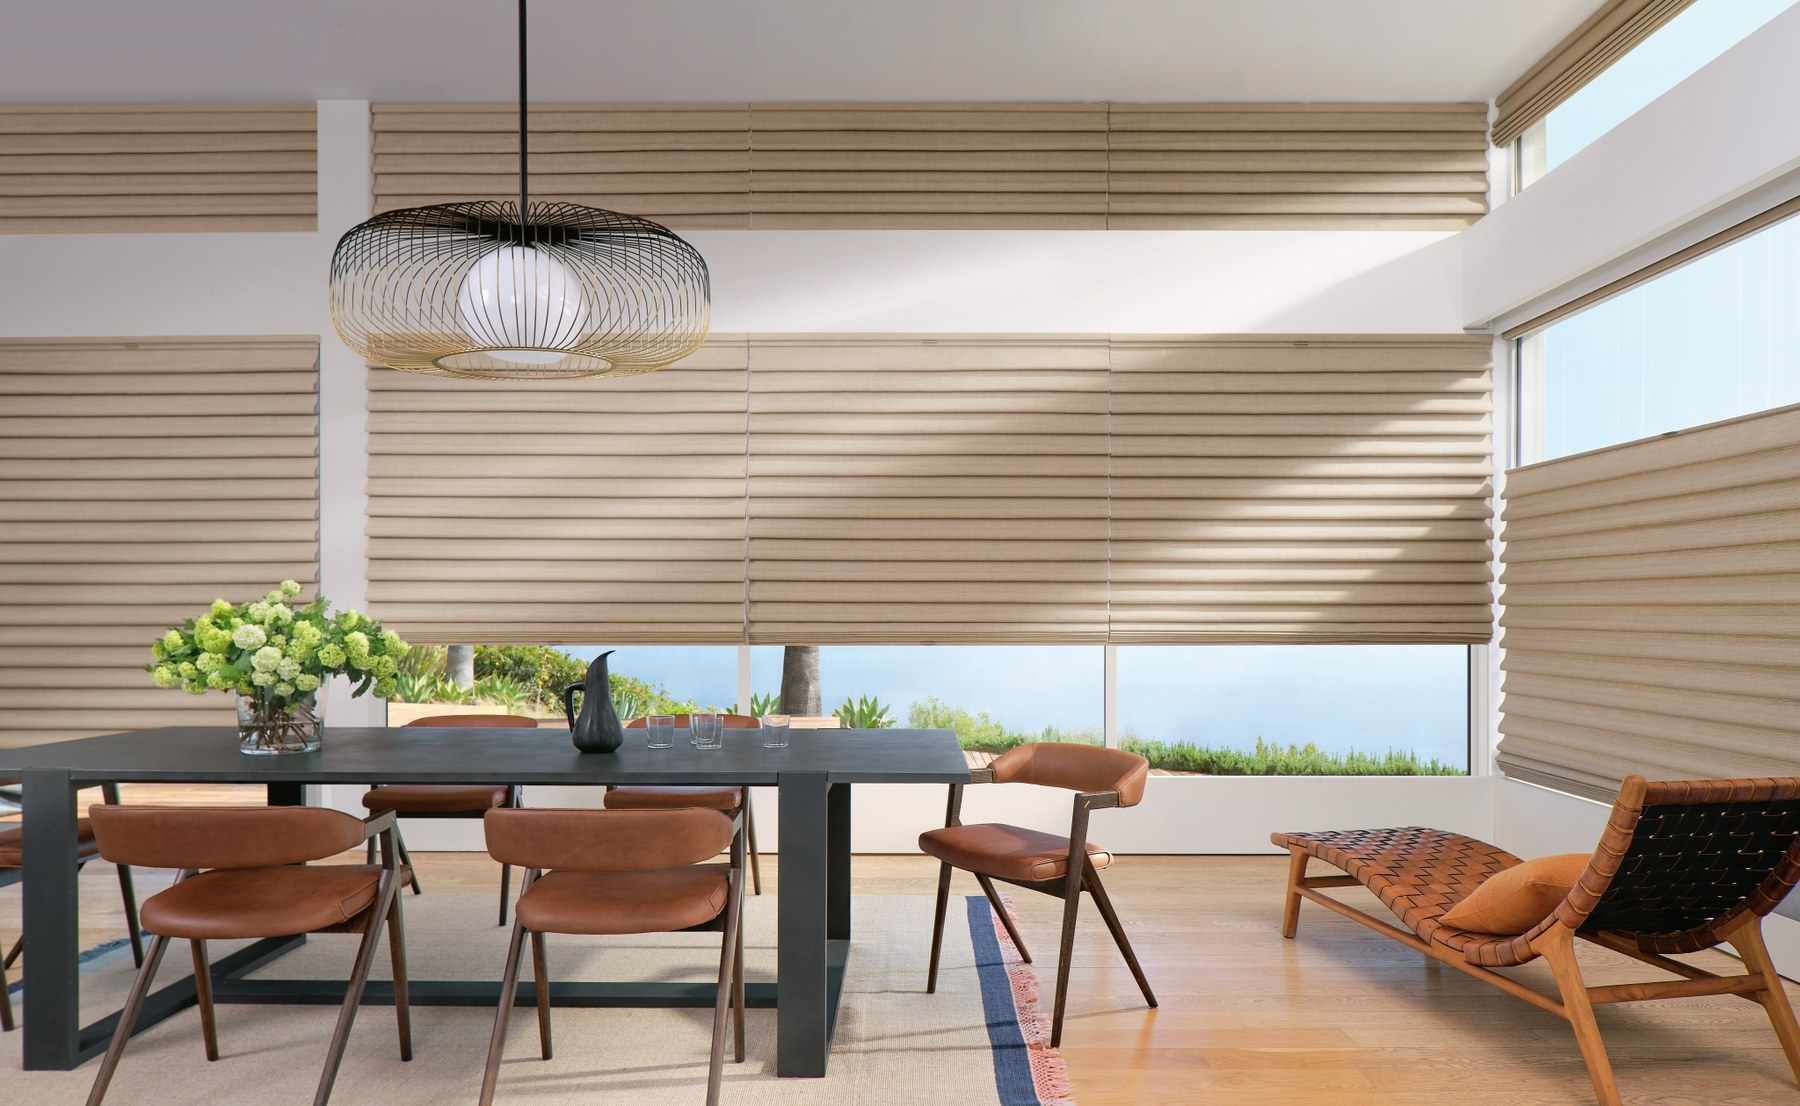
Energy Efficiency
How the right window coverings can lower your energy bill — every single month
Cellular shades, solar screens, and smart automation — the science behind energy-efficient window treatments, with the real numbers behind each one.
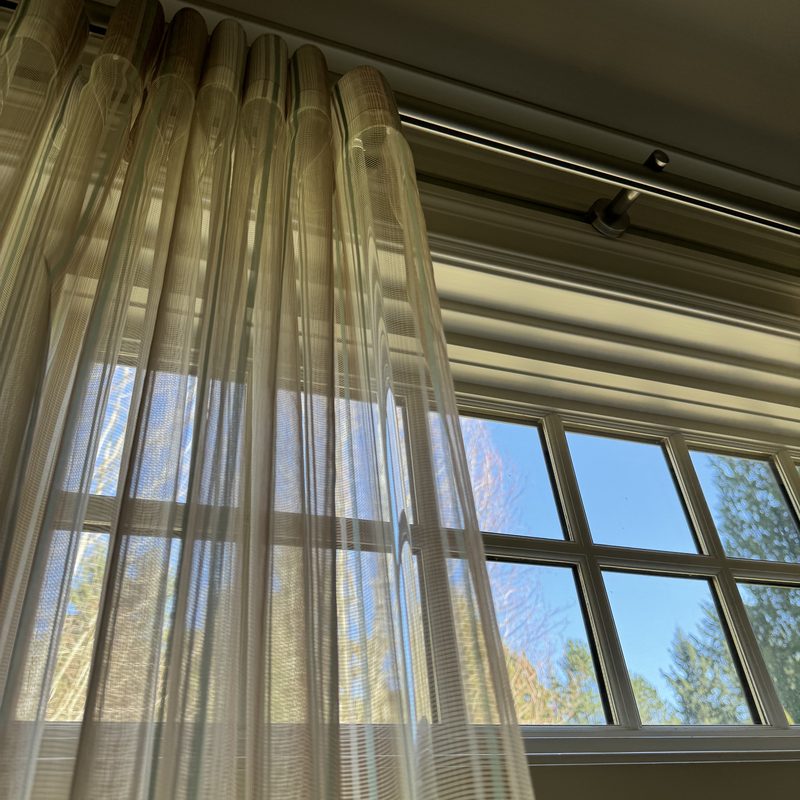
Design Trends
2026 window covering trends we're seeing in Greater Seattle homes
Warm neutrals, layered textures, and motorization everywhere — here's what's trending in Pacific Northwest interiors right now.
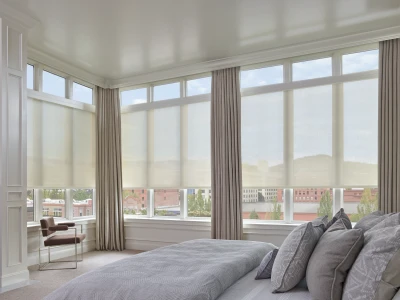
Design & Layering
The case for layering — why two window treatments almost always beat one
Drapery over wovens. Sheers over rollers. Romans under linen panels. Here's why our most-loved installs almost never use a single product per window.
Commercial & Realtors
Why smart realtors are partnering with window covering specialists before listing
Fresh window treatments can increase perceived home value and shorten time on market — here's how we work with realtors before the photos get taken.

Financing
How to get the window treatments you want — without waiting until "someday"
Flexible financing means you can outfit your entire home now, not room by room over years. Here's how it actually works, with no sales-pitch fluff.

Privacy & Lifestyle
Living twelve feet from your neighbor — a Pacific Northwest privacy playbook
Seattle and Portland lots are tight. Most homes have a neighbor staring through a window that's closer than your own bedroom door. Here's how to fix it, room by room.
Browse by Topic
Motorization
Smart home & automation
Design Trends
Style & inspiration
Energy Efficiency
Savings & sustainability
Product Knowledge
Guides & comparisons
Home Design & Style
Your windows deserve more than an off-the-shelf guess. Here's why going custom — and going professional — makes all the difference.
"Your windows are the eyes of your home. What covers them shapes every room's light, mood, and personality — so why settle for something that almost fits?"
Why custom?
Walk into any big box store and you'll find rows of window coverings in standard sizes, standard colors, and standard styles. They're designed to fit the average window in the average home — not yours. The reality is that most windows aren't average, and most homeowners aren't average either.
Custom window coverings are built around your life. Your exact window dimensions. Your specific light control needs. Your taste in color, texture, and fabric. The result isn't just better-looking — it's genuinely functional in ways that off-the-shelf solutions simply can't match.
Custom coverings are measured and made for your exact windows — no gaps, no drooping edges, no awkward bunching.
Hundreds of fabrics, colors, and styles — so your window treatment reflects your taste, not what happened to be in stock.
Dial in exactly how much light, privacy, and UV protection you want — room by room, window by window.
Quality materials and proper construction mean your investment holds up for years — not just seasons.
The professional difference
We get it. There's a whole DIY culture out there, and for many home projects, rolling up your sleeves is the right call. Window coverings, however, are one of those places where a little professional help goes a very long way.
Measuring is harder than it looks. A difference of even a quarter inch can mean a covering that won't mount correctly, won't close fully, or leaves frustrating gaps that let in light right where you don't want it. Professional installers measure with precision — and they know how to account for the quirks that older homes, bay windows, and irregular frames introduce.
A professional doesn't just install your window coverings. They assess your space, understand your goals, and bring years of hands-on experience to every recommendation they make.
Installation is where most DIY projects unravel. Getting a blind to hang level, a shade to operate smoothly, or motorized coverings wired correctly takes tools, technique, and time. When it's done right, you don't notice it — the covering just works beautifully. When it's done wrong, you'll notice it every single day.
Beyond the technical side, a professional brings something harder to quantify: perspective. They've seen hundreds of homes, worked through every type of window challenge imaginable, and can often spot opportunities you'd never consider on your own — like layering shades and draperies for a more finished look, or recommending a fabric that handles west-facing afternoon sun without fading in two years.
At Lumé Custom Shade and Drapery, we combine that expertise with a consultative approach. We don't show up with a catalog and a clipboard. We listen, we look at your space, and we help you make decisions you'll feel confident about for years to come.
The bottom line
Custom window coverings aren't a luxury — they're a smart investment in your home's comfort, function, and style. And when paired with professional measurement and installation, they're the kind of upgrade that genuinely transforms a room.
So before you grab a tape measure and head to a big box store, consider what you actually want: window coverings that look like they belong, function exactly as needed, and hold up beautifully over time. That's what we do.
Book your in-home consultation with Lumé Custom Shade and Drapery.
Design Trends
Warm neutrals, layered textures, top-down privacy, and motorization everywhere — here's what's actually showing up in Pacific Northwest homes this year.
"The Pacific Northwest doesn't follow design trends — it tempers them. The interiors winning right now feel warm, quiet, and built for the way we actually live with our light."
What we're seeing
Every January we sit down and look back at what we installed the year before — what colors clients asked for, what fabrics they kept circling on the swatch board, what features they couldn't stop talking about at the follow-up. The pattern for 2026 is clear, and it's a meaningful shift away from the cool greys and stark whites that dominated the last decade.
Pacific Northwest homes are leaning warm. Cream, oat, mushroom, soft camel, and the occasional clay tone are everywhere. Even on rainy Tuesdays in February, our clients want their rooms to feel like a candle is already lit. Window coverings are doing a lot of that heavy lifting — because the fabric on your window is often the single largest soft surface in the room.
Oat, cream, mushroom, and soft camel are replacing the cool dove-greys of the last decade — especially in living rooms and primary bedrooms.
Woven wood + linen drapery, or roman shades with side panels. The texture does the talking — bold prints are taking a back seat.
Top-down/bottom-up cellular shades are exploding in PNW homes. You get light at the top, privacy at the bottom, and never a dark room.
Five years ago motorization was a splurge. In 2026, most of our new builds and remodels include at least one room of motorized shades from day one.
Trend 01
Woven wood shades had a moment in the early 2000s, disappeared for fifteen years, and have come roaring back. The difference now is the styling. Where they used to be hung alone and a bit beachy, today's woven woods are paired with soft linen drapery panels for a layered, lived-in look that feels deeply Pacific Northwest — natural materials, organic texture, quiet sophistication.
They also solve a very PNW problem: filtered light without the bleakness. Our grey days are softer when they're filtered through bamboo or jute instead of bouncing off a hard white roller shade.
Texture is the new pattern. If your fabric has a story you can run your hand across, you're already on trend.
Trend 02
This is the single most-requested upgrade in our showroom right now, and for good reason. Top-down/bottom-up cellular shades let you pull the shade down from the top of the window — keeping the bottom half private — while letting all that hard-earned PNW daylight pour in over the top.
For Portland and Seattle homes built close to the neighbors (which is most of them), this is a game-changer. You stop choosing between "see the trees" and "have privacy." You get both. And the honeycomb cell construction quietly cuts your energy bills at the same time — a detail our clients almost always discover after the install, not before.
Trend 03
The price has come down, the technology has caught up, and the experience has crossed a threshold. Once you live with a shade that lowers itself at sunset and lifts itself at 7 a.m., you cannot go back. In 2026 we're seeing entire floors of new construction specced with motorized shades from the start — and remodels where clients motorize the great room first and then quietly call us back for the bedrooms within the year.
What's changed:
Rechargeable batteries that actually last. Today's Hunter Douglas PowerView batteries run 12–18 months on a single charge for most windows. No electrician required, no hidden wiring, no compromises.
Voice control that works. Alexa, Google Home, and Apple HomeKit integrations are now stable enough that "Hey Siri, close the living room shades" just works — every time.
Scenes, not switches. The real magic isn't controlling shades individually — it's setting up a "morning," "movie," or "away" scene that moves every shade in the house to the right position automatically.
Trend 04
For years our consultations were "shades only, no drapery, my mom had drapes." That's reversing fast. Today's drapery is unfussy: simple pinch pleats, neutral linens, ripple fold panels on a clean rod. It softens hard architecture, absorbs sound (huge in modern open-plan homes), and adds the warmth that bare windows can't.
The trend isn't heavy drapery — it's functional drapery. Panels that frame the window when open and actually close when you want them to. Paired with a shade underneath, you get layered light control plus that finished, designed look every magazine spread leans on.
Trend 05
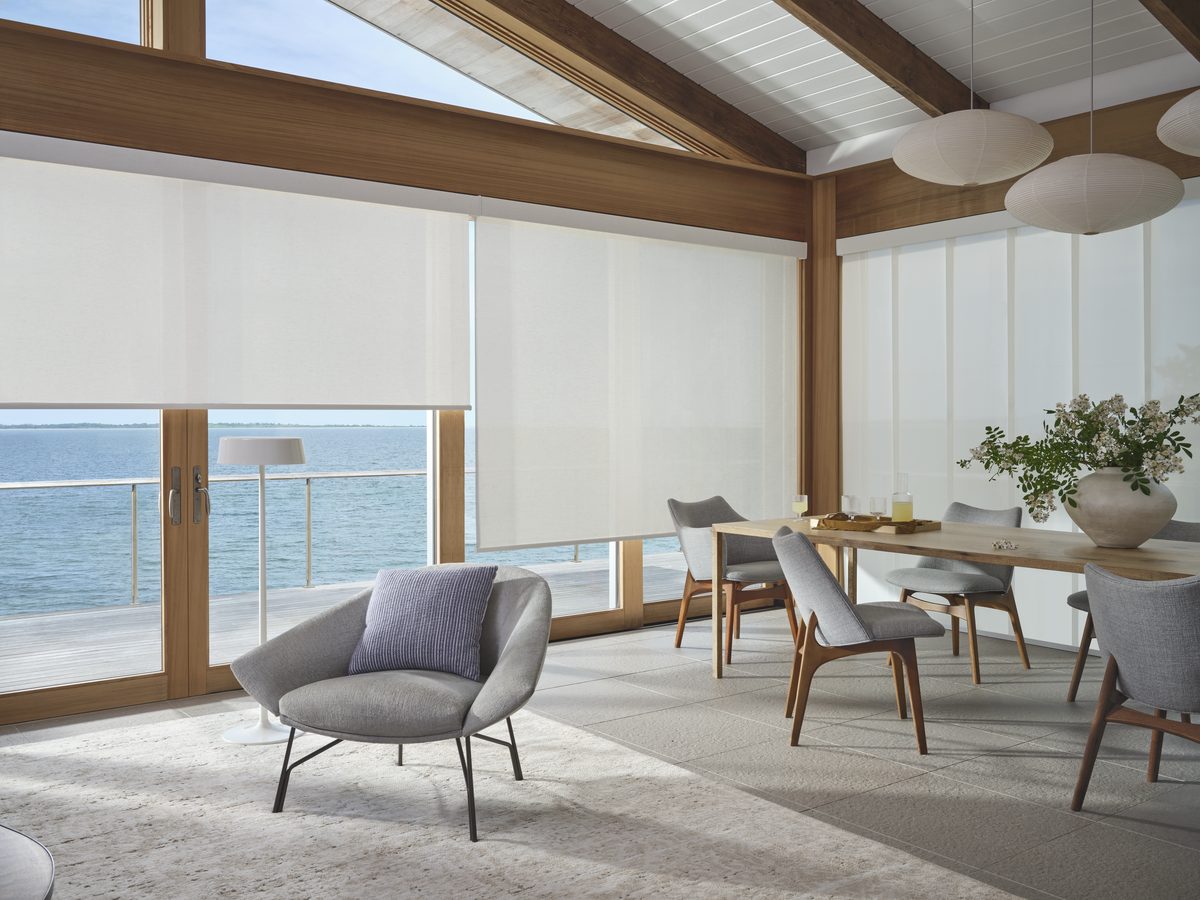
The photo at the top of this post is doing a lot of quiet work. Notice the wood paneling, the warm-white cellular shade, the styled objects on the console — that combination of natural wood + soft neutral window covering + intentional decor is the look defining 2026 PNW interiors. It's not loud, it's not minimalist, and it's not farmhouse. It's just calm, warm, and made on purpose.
If you're picking new window coverings this year and you want them to still feel current in 2030, that's the rule: choose a covering that disappears into the warmth of the room instead of competing with it.
The takeaway
Every trend on this list showed up because it solves a real problem PNW homeowners have — grey light, close neighbors, energy costs, wanting a home that feels good to come home to. The point of paying attention to trends isn't to chase them. It's to use them as a shortcut to the decisions other people have already road-tested for you.
If any of these resonate with what you've been thinking about for your own home, we'd love to come measure, talk fabrics, and help you build something that still feels right five years from now.
Book your in-home consultation with Lumé Custom Shade and Drapery.
Design & Layering
A look at why our most-loved installs almost never use a single product per window — and how to think about layering for your own home.
"A single product on a window does a job. Two products doing different jobs — that's where a room starts to feel designed."
Start here
It's late afternoon. The sun is dropping behind the cedars. The woven wood shade is pulled halfway down — filtering the glare without killing the view. A pair of soft linen drapery panels hang quietly on either side of the window, framing the glass like a picture. Nothing is doing too much. Everything is doing exactly what it's supposed to do.
That's a layered window. And once you see one done well, the single-product window starts to look a little… undressed.
The mechanics
Layering isn't decoration — it's a strategy. You're stacking products that each handle a different problem, so the window can shift moods through the day instead of being stuck on one setting. There are typically four positions to think about, working from the glass outward:
Layer 1 — The light filter. Closest to the glass. This is usually a roller shade, solar screen, or sheer. Its job is to soften incoming light, knock down UV, and let you see out without being seen in. It's the layer you'll touch the most.
Layer 2 — The privacy or insulation piece. A cellular shade, woven wood, or roman. This is the layer you bring down when you want the room buttoned up — when the sun goes down, when you want the heat to stay in, when the neighbors are out grilling.
Layer 3 — The fabric. Drapery panels, sheers, or both. This is where the room gets its softness, sound absorption, and personality. Even if the panels never actually close, just having them changes the architecture of the wall.
Layer 4 — The hardware. Easy to forget, impossible to fake. A beautiful rod, a finished cornice, a clean valance — this is the frame around the picture. It's what makes the whole arrangement read as "intentional" instead of "stacked."
You don't need all four layers on every window. Most of our installs use two. Some use three. The point isn't to maximize — it's to choose the right combination for what the room actually needs.
Pairings we love
If you're trying to picture what layering actually looks like in real homes, these are the pairings we end up recommending most often — and what each one is good at.
The PNW classic. The wovens filter daylight beautifully; the drapery softens hard walls and absorbs sound. Warm, lived-in, low-maintenance.
For modern homes with a view. The solar shade kills glare and UV; the sheer keeps the architecture clean. You barely notice either one until the sun shifts.
The bedroom workhorse. Cellular for insulation and daytime privacy; blackout drapery for true dark sleep. Layered, this combo is unbeatable.
The most polished look on a budget. A single roman does the work; stationary side panels make it look like a $10K install. Designers' favorite trick.
Why it actually works
One — light, dialed in by the hour. A single shade is binary: up or down. Layered, you can have the sheer down at 10 a.m. for diffused work light, the woven wood lowered at 2 p.m. to cut afternoon glare, and the drapery drawn at 9 p.m. for a quiet, cocooning evening. The window adapts to the day instead of fighting it.
Two — dimension you can feel. The eye reads layered windows as depth. Soft fabric over a textured shade or metal blind creates contrast — light against shadow, smooth against rough. It's the same trick interior designers use with throw pillows, rugs, and lamps: layers give a room its third dimension.
Three — performance that compounds. A cellular shade alone might cut your window heat loss by 30%. Add insulated drapery and you're closer to 50%. Pair a UV-blocking solar shade with a sheer and you protect your hardwoods and your art. The numbers stack the same way the layers do.
Layering isn't about putting more on a window. It's about giving each product one job and letting them do it well.
The honest part
We won't pretend layering is always the move. There are rooms where a single, well-chosen product is the right answer — and where adding more would just clutter the window or the budget.
Tight kitchens with cabinets crowding the window frame usually want one clean shade, not drapery that'll catch grease. Small bathrooms typically need a single moisture-friendly roman or cellular — drapery in a wet space is a maintenance headache nobody asked for. Hallways, laundry rooms, garages — single-layer territory, every time.
And there's a budget conversation worth having upfront: layering done well means two custom products per window instead of one, plus the hardware to mount them. We'll happily talk you through where to layer first if you want to phase it — most clients start with the great room and primary bedroom, then add layers to the rest of the house over a year or two.
The takeaway
The best window in any room is one that can change with the day, frame the view, and quietly disappear when it's not needed. A single product can rarely do all three. Two products, chosen on purpose, almost always can.
That's the case for layering — not because more is better, but because the right combination does what neither piece could do alone.
We'll bring fabric samples, measure your windows, and walk you through the pairings that fit your space.
Motorization & Smart Home
From rechargeable batteries to whole-home scenes, here's everything we tell clients before they motorize their first window. (Including a few things we wish someone had told us.)
"You don't fall in love with motorization at the install. You fall in love with it six weeks later, the first morning your shades lift themselves and you realize you forgot the cord even existed."
A confession to start
Before we recommended motorization to a single client, I put it in my own home. Floor-to-ceiling rollers in the great room, motorized shades in the primary bedroom, scenes for morning, movie, and bedtime. Six months later I called my electrician and asked him to run hardwired power to two more rooms — because I couldn't imagine going back to pulling cords. That's the photo at the top of this post. It's not a stock image. It's my living room.
I tell you this because motorization is one of those things that sounds nice and feels life-changing. The gap between "yeah I'd consider that" and "I will never live in a house without this again" is much smaller than people expect.
The moment
Your bedroom shades begin to rise. Not all the way — just enough to let in the soft early light without blasting you awake. By the time your alarm goes off, the room is warming up naturally. Downstairs, the kitchen blinds are already open, the living room solar shades have lowered themselves on the east-facing windows to keep glare off the TV, and the dining room sheers are gently filtering the morning sun across the floor.
You haven't walked through a single room yet. You haven't pulled a single cord. The house woke up before you did.
That's not a feature. That's a way of living, and once you have it, every cord-operated shade you encounter for the rest of your life feels vaguely insulting.
Where it actually matters
1. Anywhere you can't reach. Tall great-room windows. Stairwell windows. Windows above kitchen sinks or behind sofas. These are the rooms where motorization isn't a luxury — it's the only reason the shade ever gets used. Most of our clients who hold off on motorization for years come back and tell us, "I never even closed that shade until you motorized it."
2. The primary bedroom. Wake-up routines, blackout for sleeping in, light wedges to slowly transition from morning to morning, integration with your alarm — the bedroom is where motorization first justifies itself. Once people live with it, they motorize the rest of the house from there outward.
3. The west-facing room. Every Pacific Northwest home has at least one. Glare at 4 p.m., fading hardwoods, an unusable couch from May through September. A scheduled solar shade that lowers itself when the sun crosses a threshold ends this problem forever.
4. The whole-home "away" scene. Leaving for a week? One tap closes every shade in the house and sets random open/close patterns so it looks occupied. It's a small security upgrade and a huge peace-of-mind one.
5. Anywhere kids and pets pull on cords. Beyond the safety issue (corded shades are still a federal recall concern for homes with children), motorization just means nothing gets tangled, broken, or stuck.
The hardware reality
The honest answer is "any of these will work for most homes," but the right call depends on the window, the room, and what you're trying to accomplish.
Hunter Douglas PowerView and similar systems run 12–18 months on a charge for most windows. Recharge with a wand or wall plug. No electrician needed. Our most-installed option by far.
Power runs through the wall to the shade. Never recharge, never replace batteries. Best for new construction, remodels, or homes where you'll motorize everything at once.
A small solar panel mounts in the window and trickle-charges the shade indefinitely. Magic when it works, but only suitable for sun-facing windows that get consistent light.
The simplest option — a small wand recharges the shade's battery from a wall outlet. Quick, low-profile, no commitment to a smart-home system.
What people get wrong
"I have to wire my whole house." You don't. Modern rechargeable battery shades drop into your existing windows with zero electrical work and run for over a year on a single charge. Start with one room. Add more whenever you want.
"The remotes look like 1990s VCR controls." Maybe ten years ago. Today's Hunter Douglas Pebble remote and the PowerView app are both genuinely beautiful. And most clients end up using voice control or scheduled scenes instead of a remote anyway.
"It's going to break and I'll be stuck with a $2,000 paperweight." Hunter Douglas motors carry lifetime limited warranties, the batteries are user-replaceable, and the receivers are standardized. The systems we install today will be serviceable a decade from now.
Motorization isn't a luxury upgrade anymore — it's the way thoughtful homes are being built and remodeled. The only question is whether you do it now or in five years.
The honest part
We won't put motorization in a window where it doesn't actually help. The half-bathroom shade you open once a year? Manual. The pantry window that nobody ever touches? Manual. Small windows in low-traffic rooms where a cord is fine? Manual. We'd rather you put that budget toward a great room scene or a primary bedroom upgrade where you'll actually feel the difference every single day.
Where we always push back gently: clients who want to motorize only one or two windows in a busy room. The asymmetry is annoying — half your shades respond to a voice command and half don't. Either commit to a room or stay manual. Halfway is the worst experience.
The takeaway
If you're motorization-curious, here's what we recommend: pick the room where it'll change your life the most (almost always the primary bedroom or the great room), do it well, and live with it for three months. You'll know by then whether you want it everywhere. Most of our clients do.
Come into the showroom and we'll show you the difference between a $400 motorized shade and a $4,000 one — and where each one is the right answer. There's no pressure, no quote built into the visit. Just a conversation with someone who's lived with motorization in his own house for years.
Visit our showroom or book a free in-home consultation — bring your remote-aversion and we'll change your mind.
Energy Efficiency
The actual science, the actual numbers, and what your window coverings can — and can't — do for your heating bill in a Portland or Seattle winter.
"Up to 30% of a home's heating energy escapes through windows. Up to 76% of summer sunlight on standard windows becomes heat inside the room. Window coverings aren't decoration — they're the thinnest layer of your home's insulation."
The premise
Your walls are insulated. Your attic is insulated. Your floors, if you've thought about it, are insulated. And then there are your windows — even the modern double-pane ones — sitting there with an R-value of roughly 2-3, compared to R-13 to R-21 for an insulated wall. They are, by a wide margin, the worst-performing surface of your house.
The right window covering is the cheapest, fastest way to fix that. You're not just dressing the window. You're closing the largest hole in your insulation envelope.
The numbers
Marketing copy is full of vague claims like "up to 25% savings!" — so let's get specific. These are the numbers manufacturers (and the U.S. Department of Energy) publish, based on standardized testing. Real-world results vary, but the relative ranking holds up.
The energy champion. Trapped air inside the honeycomb cells creates insulation. Single-cell ~R-3, double-cell up to R-5. Can reduce heat loss through windows by up to 40%.
Block 80–95% of UV and dramatically cut solar heat gain in summer. Won't help in winter, but they pay for themselves quickly on west-facing rooms that overheat in July.
Standard rollers do little, but add a thermal or blackout liner and you've cut radiant heat loss noticeably. Best when paired with drapery on the same window.
Heavy lined drapery — especially when paired with a shade underneath — can reduce winter heat loss by up to 25%. The fabric also absorbs sound and softens the room.
The PNW logic
Most energy-efficiency advice is written for places with one hard problem: brutal cold OR brutal heat. The Pacific Northwest has both, just at different times of year — and the right window covering plan changes with the season.
October through April: heat retention. Long, grey, damp winters. Your furnace is running. Every cold window is bleeding warmth back out into the rain. This is when cellular shades earn their keep — drop them at sunset, raise them in the morning, and you're closing the insulation gap for the 14 hours a day when you're losing the most heat.
May through September: heat blocking. Three months of intense, low-angle west sun. South- and west-facing rooms can climb 10+ degrees above the rest of the house by 4 p.m. This is solar-shade territory. A motorized solar shade that closes itself when the sun crosses a threshold will do more for your AC bill than any thermostat trick.
The mistake most homeowners make is choosing window coverings for July, when they should be choosing for January. Plan for the season you'll suffer through most — then make sure the same product handles the other one decently.
Where automation multiplies the savings
Here's an inconvenient truth about manual cellular shades: they only save energy when you actually use them. And most people don't. Life gets busy, the shade stays open, the heat keeps leaking, and the energy savings stay theoretical.
Motorized shades on a schedule remove that human variable. The shade drops at sunset whether you're home or not, opens at sunrise whether you remember or not. Pair scheduled motorization with a cellular shade and you finally get the savings on the box — not just the savings on paper.
The honest part
Window coverings won't fix a single-pane window. They won't replace insulation. They won't make a leaky 1920s craftsman feel like a passive house. If your windows are 40 years old and rattling in the wind, the highest-ROI move is replacing the windows, not buying expensive shades for bad glass.
What window coverings will do is meaningfully improve the performance of any window — including new ones — at a fraction of the cost of replacement. For most homes, they're the highest-leverage energy upgrade you can make in a single afternoon.
The takeaway
If you want one product that handles both seasons reasonably well: double-cell cellular shades, motorized if you can swing it, in every primary room. That's the closest thing to a "right answer" we give clients who want to maximize energy savings.
If you want to maximize each season: cellular shades in north-facing and bedroom windows (winter focus), solar shades in west- and south-facing common rooms (summer focus), and drapery layered over either one wherever you want the design upgrade plus the marginal insulation.
Either way, we'll measure for you, walk through your home's specific sun and heat patterns, and build a plan around the rooms you actually live in. That's the part the marketing copy can't do for you.
We'll come look at your home, room by room, and tell you where shades will move the needle most.
Commercial & Realtors
If your listing has bare windows, 90s mini-blinds, or that mystery shade from the previous owner — this one's for you.
"Buyers don't notice good window coverings. They notice bad ones — instantly, on the listing photos, and at the showing. Fix that one thing and you've removed a quiet objection most buyers can't even articulate."
A note to realtors
If you're a Portland or Seattle agent reading this, we know how the listing prep conversation usually goes. Paint, declutter, stage, photograph, list. Window coverings rarely come up — until a buyer walks through and quietly thinks "I'd have to redo all these blinds" and discounts the offer by a number you'll never see itemized.
We work with a small group of realtors who've figured out that treating windows is one of the highest-ROI prep moves you can make. This is how that partnership works, what it costs, and why the agents we work with keep coming back.
The problem
Walk through any listing photo carousel. Now look at the windows. Three things happen over and over:
Bare windows. The home reads as unfinished, even when the rest of the staging is great. Buyers subconsciously add "needs window treatments" to their mental list of expenses.
Aged or builder-grade blinds. The dusty white faux-wood from 2005. The yellowing vinyl mini-blinds. These shout "the seller didn't update anything" — and that's an inference that bleeds into kitchen, HVAC, and roof assumptions.
Mismatched chaos. Different shades on every window because the previous owner did them one at a time over a decade. Visually exhausting. Buyers don't know why a room feels "off," but they feel it.
Each one of these is fixable in a single day, before the photos get taken.
The process
Our realtor partnerships have a simple four-step rhythm, designed to fit into your existing listing-prep timeline without adding a new headache to your job.
1. You text us the address. That's it. We pull comps in the neighborhood, look at the listing's price point, and recommend a window covering scope that matches the property — not a generic upsell.
2. We do a free walk-through with you or the seller. 30 minutes, no quote on the spot, just a recommendation document with photos and pricing the next day.
3. We install before listing photos. Standard turnaround for a typical listing is 1–2 weeks from approval. We schedule around your photographer.
4. We bill the seller at closing. We work with several escrow companies that handle this seamlessly — no out-of-pocket cost to the seller, no payment due until the home sells.
The agents who use us most aren't the ones with the biggest budgets. They're the ones who've watched a listing sit on the market and figured out, finally, that the windows were the silent objection.
The numbers
We won't pretend to have proprietary stats — but the National Association of REALTORS and most staging industry reports consistently land on the same range: well-staged homes (which includes window treatments) sell 3–10% higher and spend 30–50% less time on market than comparable un-staged listings.
For a $750,000 PNW listing, that's potentially $22,500 to $75,000 in higher offers — against a window covering investment that's usually $1,500 to $4,500 for a full home. Even at the low end of the impact estimates, the ratio is comically lopsided.
And that's before you factor in the agent-side benefits: faster turn, fewer days on market against your average, better photos for your own portfolio, and a seller who tells the next person at the dinner party that you got their house sold fast.
The honest part
We don't recommend window coverings on every listing. Tear-down properties — skip it. Investor flips priced below $500K — usually skip it, the math doesn't pencil. Vacant new construction that's already photographed and listed — skip it.
Where the math always works: occupied family homes priced at or above their neighborhood median, where the current window coverings are clearly dated or absent. That's our sweet spot, and the agents who've figured this out are the ones we work with month after month.
The takeaway
Send us the address. We'll tell you in 24 hours whether it's worth doing window coverings before listing, what scope makes sense for the price point, and what it'll cost. If we don't think it'll move the needle, we'll tell you that too. No quote pressure, no follow-up sales call.
The realtors we've been working with for years tell us the same thing: this is the prep step they wish they'd added five listings ago. Easiest way to find out is to test it on one.
Text us the address and we'll tell you, honestly, whether we can help move it.
Financing
A short, honest read on how financing window coverings actually works, why phasing usually costs more than financing, and what to watch out for.
"You've been planning the whole-home window project for three years. You're going to plan it for three more if something doesn't change. Financing isn't about not being able to afford it — it's about not making yourself wait."
A real conversation
We hear it every week. Client moves into a 2,400 sq ft home with eighteen windows. The budget for window coverings was supposed to be $X, the actual quote comes in at $Y, and the math doesn't fit. So the plan becomes: do the living room and primary bedroom now, then the rest "next year."
Next year comes. The kids' rooms are still bare. The guest bath still has the previous owner's broken mini-blind. The dining room has a tension rod and a sheet because it's "temporary." Two years pass. Three. Eventually you forget you were going to fix it.
This article exists because that pattern is so common it's almost universal, and there's a better way to handle it that nobody talks about.
The counterintuitive part
Most clients assume that doing window coverings room-by-room over a few years is the "cheaper" path. The reality is the opposite, for three boring but real reasons:
Fabric and product lines change. The collection you choose this year may be discontinued next year. Matching new shades to old ones, two years apart, is sometimes impossible — and homeowners end up replacing the earlier shades to keep the home consistent.
Installation fees compound. Every visit has a minimum charge. Five trips for five rooms costs significantly more than one trip for five rooms. We try to bundle, but the math is what it is.
Prices go up. Custom window coverings are not deflationary. The quote you got last year will not be the same quote you get next year. Manufacturers raise pricing annually.
Phasing your home isn't saving money. It's spreading the discomfort across years — and usually paying more in the end.
The mechanics
What is it, exactly? A consumer financing program lets you complete your full window covering project today and pay for it over 12, 24, or 60 months. Often with promotional 0% interest for an introductory period if paid in full by a certain date.
What's the interest rate? Depends on the program and your credit. Promotional terms (0% for 12 or 18 months) are common. Beyond the promo period, rates are similar to a typical store card. The full terms are disclosed before you sign anything.
Does applying hurt my credit? The pre-qualification step is a soft pull and doesn't affect your score. Only the formal application is a hard inquiry, and that's not done until you've decided to move forward.
How long does approval take? Most applications are decided in under 60 seconds, online. You don't have to come into the store to get an answer.
Do you push it on every client? No. We mention it once, in the quote conversation. If financing isn't useful to you, we don't bring it up again.
The honest part
If you're stretching to afford a smaller-than-ideal window covering plan, financing the upgrade is smart. If you're stretching to afford a plan that's already at the edge of your budget, financing the difference is risky — and we'll tell you that directly. There are also situations where the right call is to do less, do it well, and add more in a year or two when the budget allows.
The point isn't that everyone should finance. The point is that "I can't do my whole house right now" should never be the end of the conversation — because for most clients, it doesn't have to be.
The takeaway
Before you decide to phase your project, get one quote for the whole house. Then ask us about financing terms. Then look at the monthly payment side-by-side with what you'd realistically spend on "Phase 1" out of pocket. Most clients are surprised at how close the numbers are — and how much sooner the whole house starts feeling like home.
You can pre-qualify on our financing page in about 60 seconds, with no impact on your credit. Worst case: you find out the terms aren't right for you and you keep your original plan. Best case: you sleep in a finished home next month instead of next decade.
Pre-qualify online with no impact on your credit score.
Privacy & Lifestyle
A room-by-room guide to actually having privacy in a Portland or Seattle home where the lots are tight and the windows line up with someone else's.
"In a tight PNW neighborhood, the question isn't whether your neighbors can see in. It's which rooms and when — and what you're going to do about it before the leaves fall and the bare branches give them a clear shot at your kitchen."
The reality
You move into a 1923 craftsman in Ballard, or Queen Anne, or Mt. Tabor, or anywhere on the east side of Portland. The first week, you're so focused on furniture and where the coffee maker goes that you don't really notice. By week three, you're brushing your teeth at the bathroom mirror and you realize your neighbor's kitchen window is roughly eight feet away — and they're standing at their sink looking your direction. You both quietly look away. Welcome to PNW close-quarters living.
The truth nobody mentions during the home tour is that privacy in a Seattle or Portland neighborhood is a constant low-grade negotiation — with your neighbors, with the seasons (deciduous trees only screen you for six months a year), and with your own habits. The good news: with the right window covering plan, you can solve it almost completely. Let's walk through it room by room.
Room 1 — The bathroom
If you only fix one room in your house, fix the bathroom. The combination of "you're naked" plus "the bathroom is usually the room closest to your neighbor's house" plus "frosted glass is rarely as private as people think" makes this the highest-stakes privacy room in the house.
What works: Top-down/bottom-up cellular shades. They let you pull the shade down from the top — giving you privacy on the bottom while still letting daylight pour in through the upper half. You get a bright, natural-light bathroom with zero sightlines from the neighbor's window. This is the move.
What doesn't: A single shade you have to choose between "all the way up" or "all the way down." A frosted bathroom window film — you can still see silhouettes clearly from outside, especially at night with the light on. A curtain that gets musty in three months because PNW bathrooms are damp.
Room 2 — The bedroom
The bedroom usually has two distinct privacy needs: daytime visual privacy (when you're getting dressed, kids are jumping on the bed, life is happening) and nighttime light blocking (when the streetlight is glowing through and the neighbor's porch light is doing what it does).
A single product almost never handles both well. The right answer is two products on one window — most often a cellular shade for daytime privacy with daylight, layered with a blackout drapery or roller shade for night. The cellular gives you privacy plus light; the blackout gives you a dark room when you actually want to sleep.
If you only want one product: a top-down/bottom-up blackout cellular shade. It's a compromise that handles 80% of both needs.
Room 3 — The kitchen and dining
Kitchens and dining rooms are where most PNW homeowners get caught off guard. You assume because you're standing up and moving around, you're less exposed than the bathroom. But you're on display for most meals and most cooking — and these are exactly the rooms with the biggest windows facing the side yard.
The good news: kitchens and dining rooms tolerate solar shades and roller shades beautifully. A simple solar shade lets you see out clearly during the day while making it nearly impossible for someone outside to see in — the magic of solar fabric is one-way visibility under daylight conditions. Add a sheer drapery panel on the dining side for an evening upgrade and you've solved 90% of the problem with a low-maintenance setup.
Avoid: heavy fabrics that absorb cooking smells, blinds with cords that catch on kitchen pulls and drawer handles, anything you can't wipe down.
Room 4 — The living room
The living room privacy problem is paradoxical: you want to feel un-watched while still letting in light and views. Pull all your shades down and the room feels claustrophobic. Leave them up and you're starring in your neighbor's daily entertainment.
The cleanest solve we install for living rooms is a layered combination of solar shade plus sheer or light drapery. The solar shade handles daytime privacy (and glare on the TV). The drapery handles evening privacy and softens the room. Both can be motorized to operate on schedule — so the shades drop themselves at sunset whether you're home or not, and you stop thinking about it.
Room 5 — The home office
Working-from-home changed the home office calculus completely. Now the question isn't just "can people see in" but "what does my video background look like, and is my neighbor going to show up behind my head on the next client call."
The fix is straightforward: a simple roller shade or cellular at the right height to put a clean background behind you on camera, paired with whatever else fits the room aesthetically. Bonus points for solar shades that filter the window light evenly — natural light is the best lighting you can give yourself on video, but only if it's diffused, not harsh.
The privacy problem in PNW homes isn't solved by hiding from the windows. It's solved by choosing products that let you live with the windows.
The myth-busting
You don't need frosted privacy film on every window. It permanently kills the view from inside, blocks more light than a good shade would, and yellows over time. Save it for one or two very specific situations (a bathroom transom window, a glass door where a shade won't fit).
You don't need blackout shades in the living room. A solar shade plus a sheer drapery accomplishes the same nighttime privacy without making your living room feel like a movie theater all day.
You don't need expensive smart blinds in every room to "lower automatically at dusk." Pick the rooms where it matters most — usually the bedroom and the living room — and motorize those. Manual shades are fine in lower-traffic rooms.
The takeaway
Privacy in a close-quarters PNW home isn't about defense. It's about designing the window coverings so you forget the issue exists. Top-down cellulars in the bathroom. Layered shade-plus-drapery in the bedroom. Solar shades in the kitchen. Motorized scenes in the living room. None of it is exotic. All of it is solvable.
If your house has a privacy problem that's nagging you — the one window you instinctively avoid, the room you stopped using a certain way — we'd love to come walk through it with you. There's almost always a simpler answer than you think.
We'll come look at every window in your home and tell you where privacy is actually a problem — and where it isn't.
Book your in-home consultation — we come to you, no pressure, just great design.